Show & Share Page Contents
Scroll down for:
- CRFG Members in the Press
- Demos
- Photo Gallery
crfg members in the press - MORE coming soon!
Rebecca Martin of Storyteller Wool: "Contagious Creativity" - Rug Hooking Magazine Vol. XXXVI, March/April/May 2025, pg 28-88
Theresa Rapstine Schafer: Her expertise extends beyond the classroom. She has shared her knowledge through several articles in publications including Rug Hooking Magazine and the ATHA Magazine. Her exceptional work has earned national recognition—her rug "Vintage Blooms" was honored in Celebrations XXV, displayed at the renowned Sauder Village, and featured in "Primitive Hooked Rugs for the 21st Century" by Cynthia Norwood.
Theresa Rapstine Schafer: Her expertise extends beyond the classroom. She has shared her knowledge through several articles in publications including Rug Hooking Magazine and the ATHA Magazine. Her exceptional work has earned national recognition—her rug "Vintage Blooms" was honored in Celebrations XXV, displayed at the renowned Sauder Village, and featured in "Primitive Hooked Rugs for the 21st Century" by Cynthia Norwood.
demos COMING SOON
Photo gallery - gathering our MEMBEr collections!
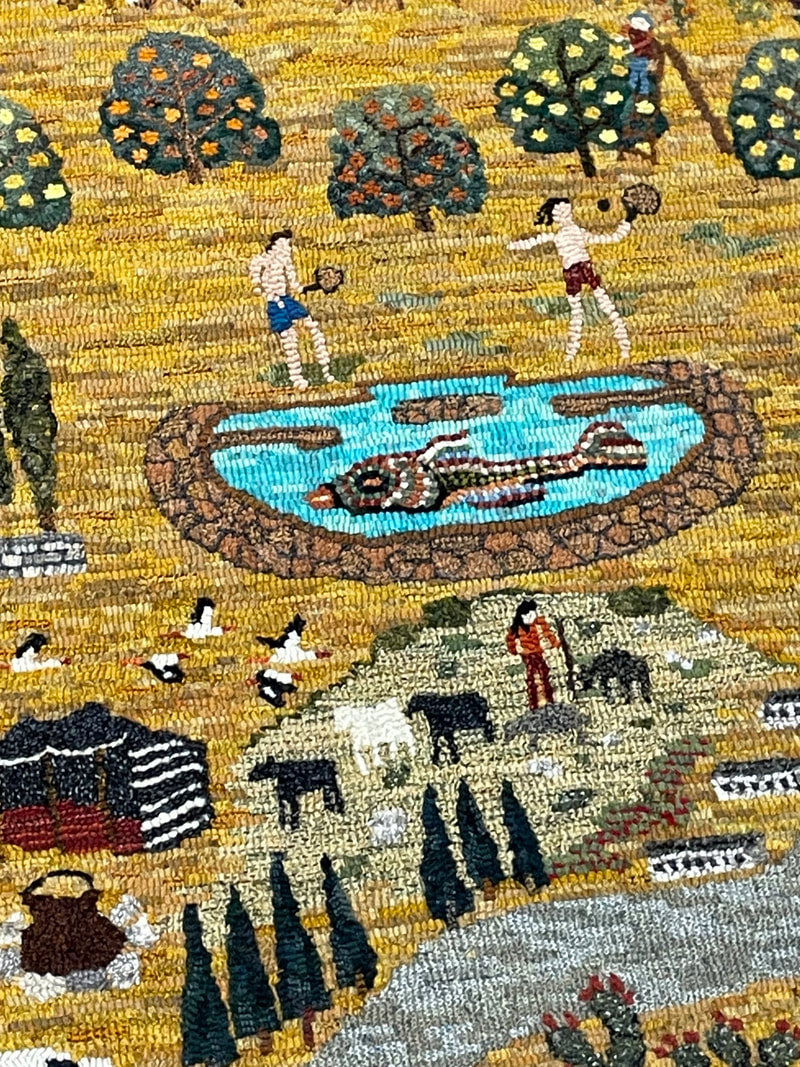
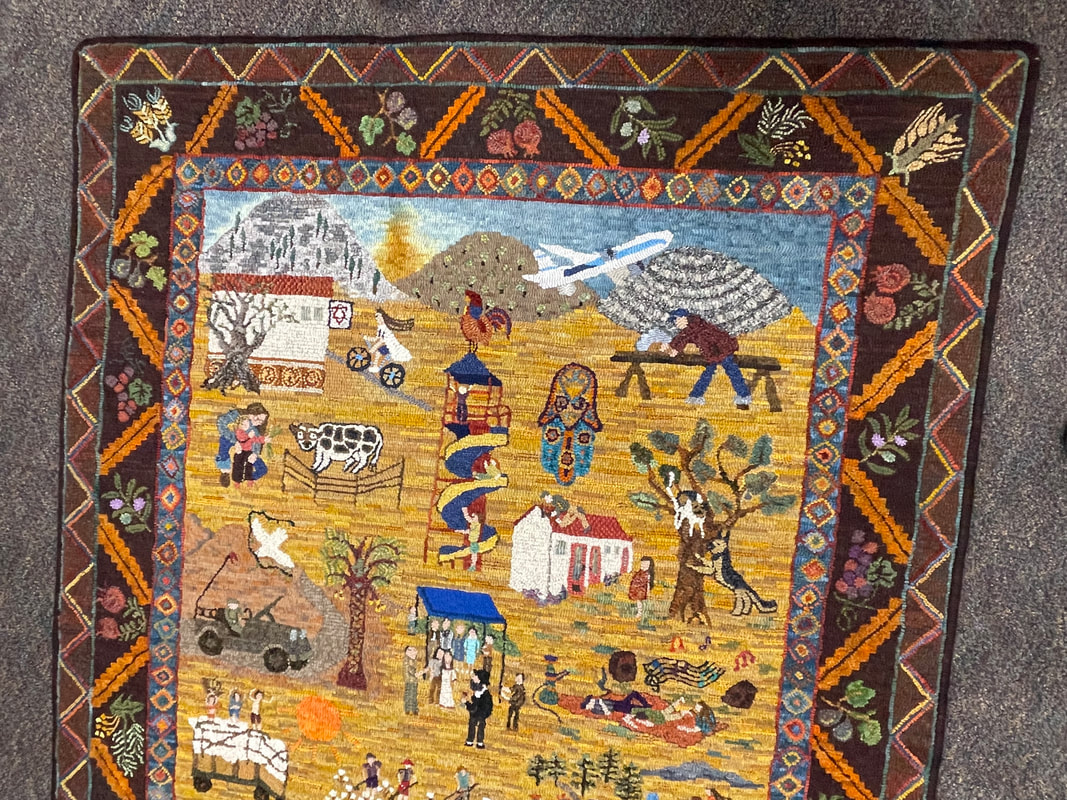
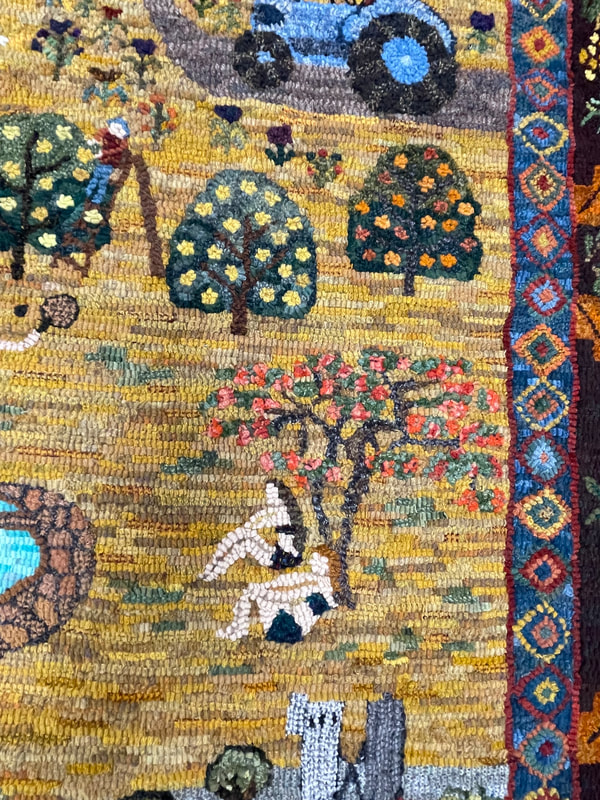
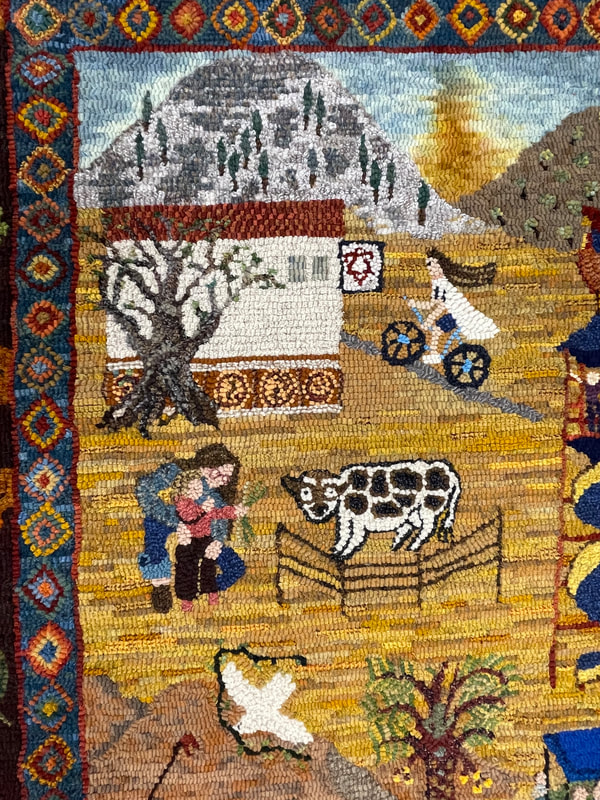
amy k.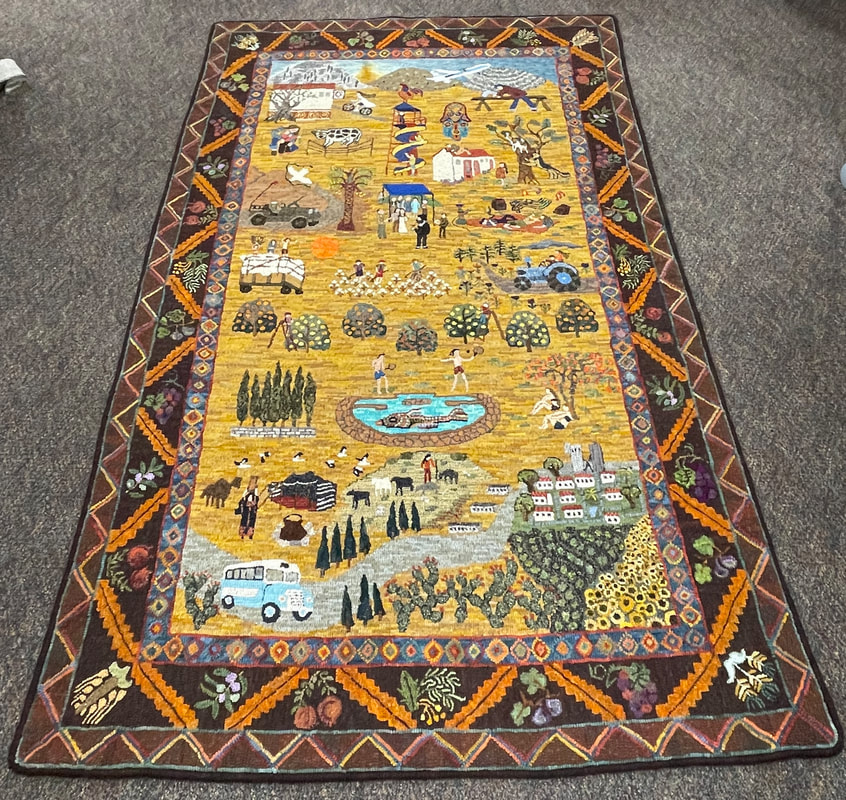
Amy's "Story Rug"
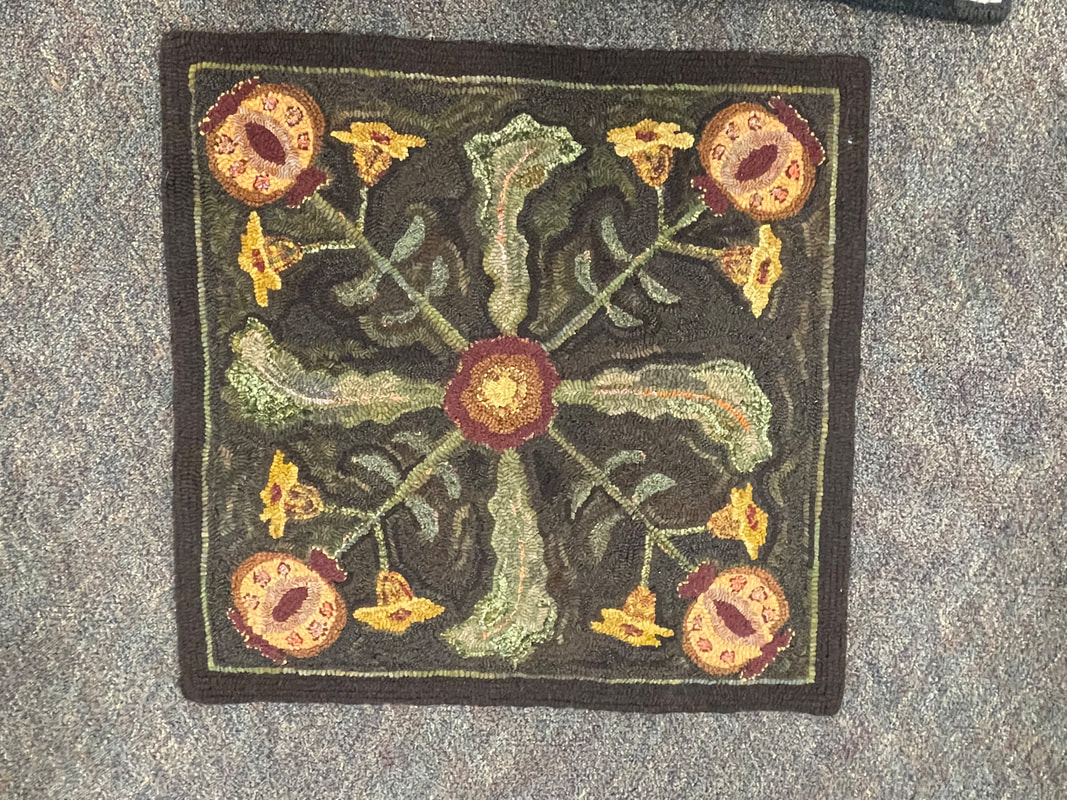
Ginny W.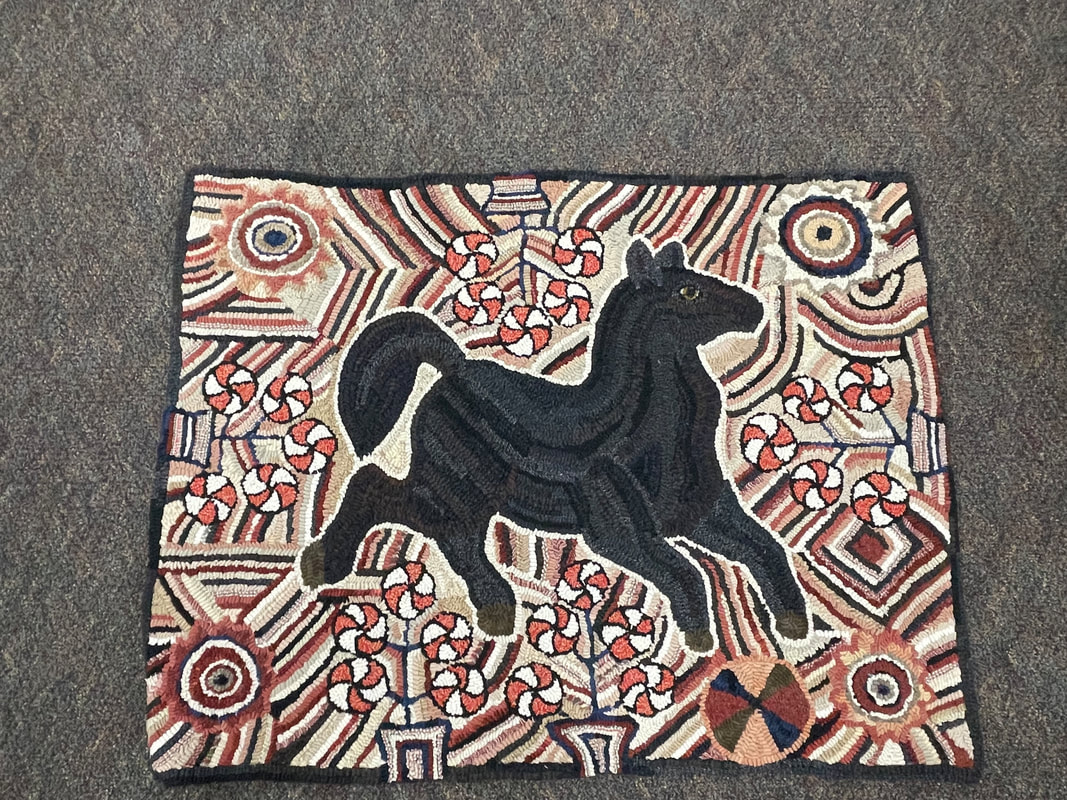
"Peppermint Pony" Pattern by Janice Johnson

Hooked by Linda D. Pattern by Monika Jones
Beth a.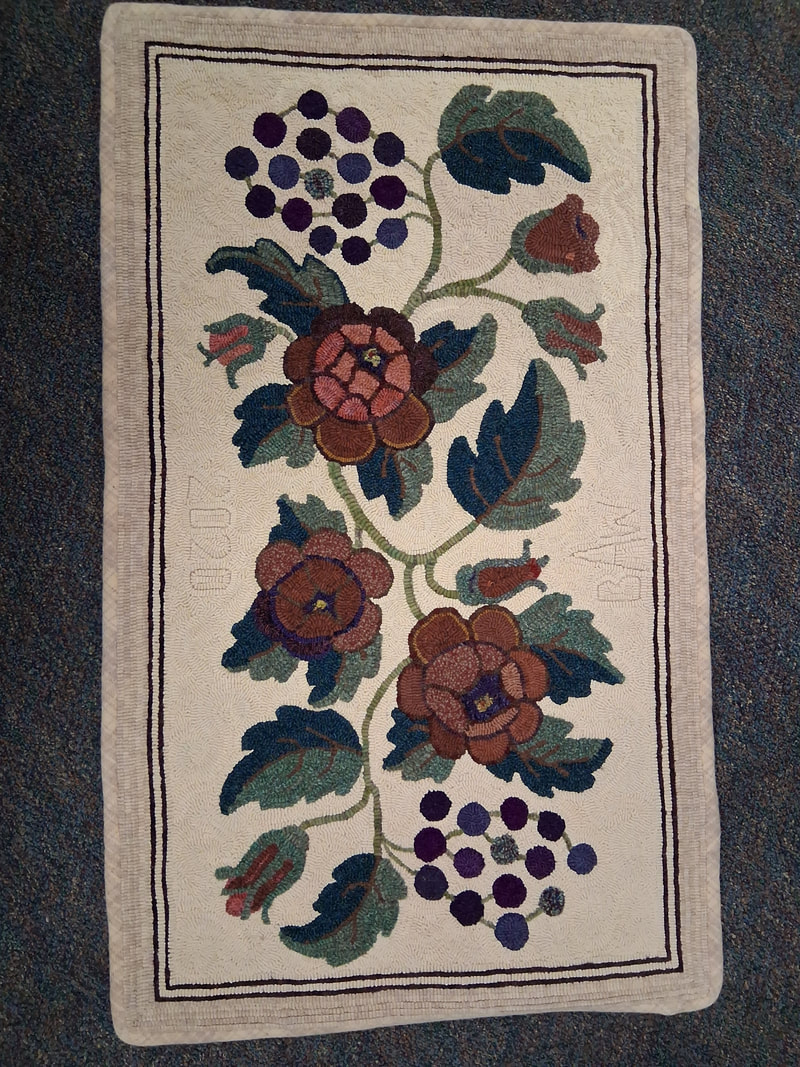
Hooked by Beth, note the recessed date and initials in the middle on both sides.
Sharon O.
Hooked by Sharon O. "Yellow Bird" design by Spruce Ridge Studios based on the art of Ann Willey
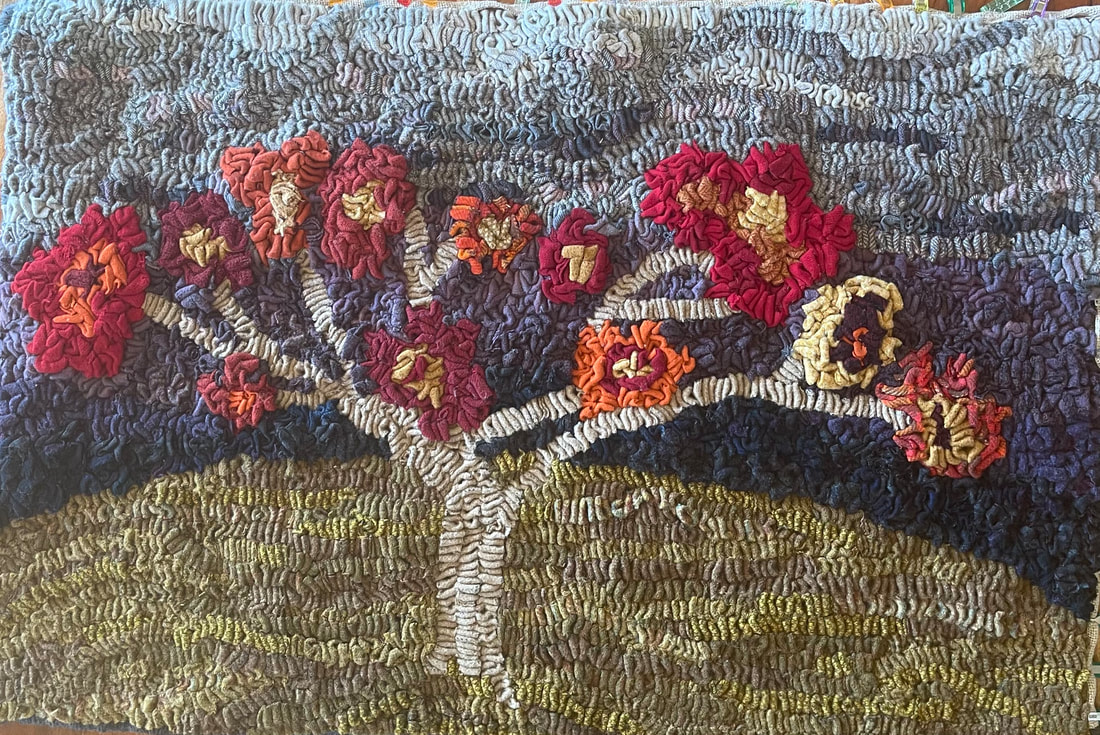
patricia m. |


Top Row: Hooked by Patricia M. - "Dad's Barns": Adapted from the painting done by Patricia's Dad.
Middle Row: Hooked by Patricia M. Pillow is: Adaptation of "Summer in Paris" from Elizabeth Miller of Parris House Wool Works, and "Pansies"
Bottom Row: Hooked by Patricia M. Pattern is "Summer Blooms from Old Tattered Flag"
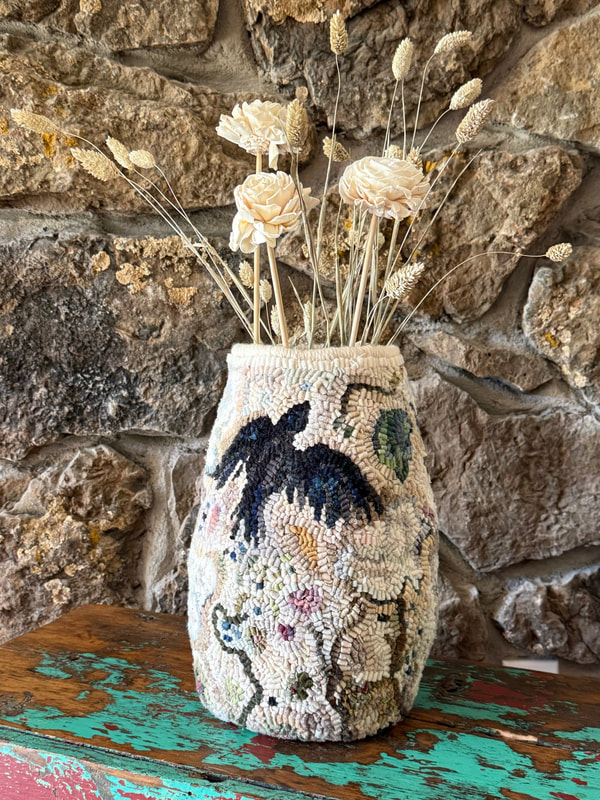
shawn N.
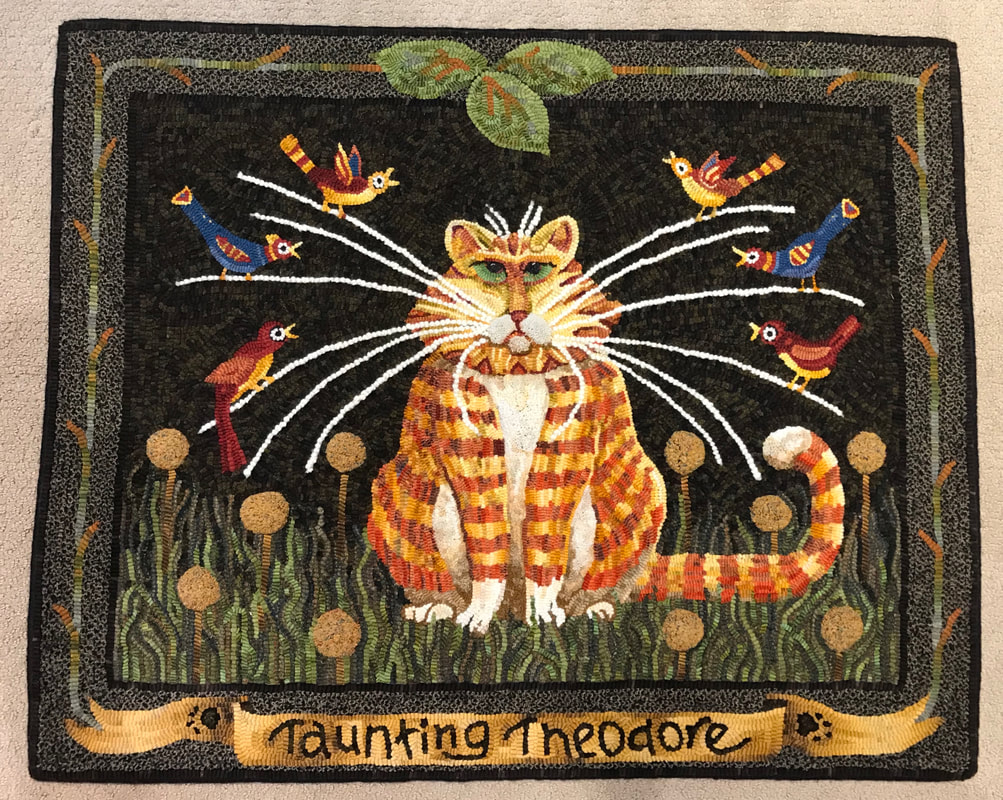
"Taunting Theodore": Hooked by Shawn N., designed by Ned Y., artist and friend of Shawn.
|
|

All rugs above designed and hooked by Shawn N. Vase cover below designed by Rachelle L. and hooked by Shawn N.
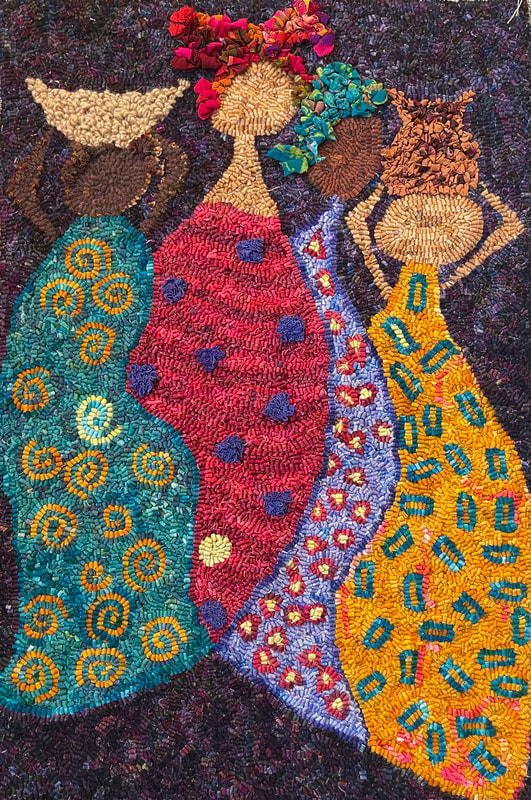
Barb Q. |
Dreaming of Africa:
A collection of five rugs where traditional American primitive hooking techniques meet vibrant African imagery. Each piece captures the rich cultural aesthetics of Africa through the distinctive textile art of rural America. Combining traditional American primitive rug hooking techniques with African imagery creates a unique artistic dialogue between different cultural traditions.
Designed and hooked by Barb Q.
This bridging of traditional American crafting techniques with African artistic influences, benefited from the thoughtful color guidance and insightful substantive direction provided by a few people : Theresa R., Keith K., Cheryl B. and Lisa H.

|

|
|
